2017 Ford Escape SE Manual: A Comprehensive Overview
The 2017 Ford Escape SE manual presents notable transmission concerns, particularly with the 6F35 unit, impacting reliability and repair costs as mileage increases․
The 2017 Ford Escape SE, while a popular compact SUV, has garnered attention for potential transmission issues, especially within the automotive community forums․ Owners frequently discuss premature failures, often around the 70,000-mile mark, centering on the 6F35 transmission․ This model year, paired with the manual transmission, requires diligent maintenance to mitigate risks․

Understanding the intricacies of this transmission – its fluid requirements and potential failure points – is crucial for owners․ Proactive fluid changes, adhering to the recommended 2-year/30,000-mile interval, are strongly advised․ Ignoring this can significantly impact the friction elements within the transmission, leading to costly repairs․ The following sections will delve into the specifics of the 2017 Escape SE’s manual transmission, offering insights into performance, maintenance, and repair options․
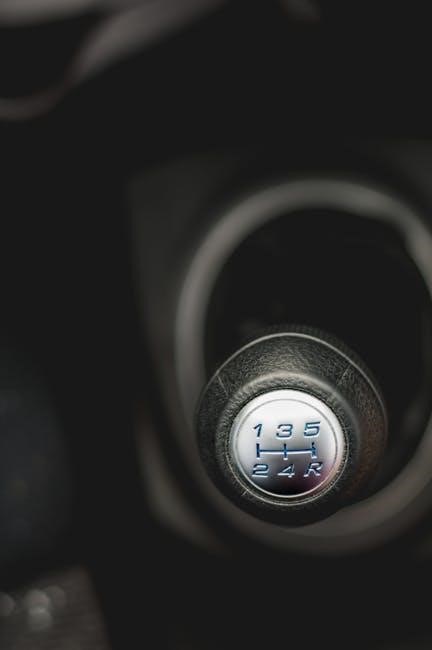
Key Features of the Manual Transmission

The 2017 Ford Escape SE’s manual transmission offers a direct driving experience, appealing to enthusiasts seeking greater control․ However, it’s intrinsically linked to the reliability concerns surrounding the 6F35 transmission․ This 6-speed manual provides a more engaging feel compared to automatic variants, but demands attentive maintenance․
The transmission’s design incorporates friction elements heavily reliant on fluid quality, making regular fluid changes paramount․ Unlike some modern automatics, this system isn’t self-protecting against fluid degradation․ Owners should be aware that sourcing used transmissions, while potentially saving around $1,000, comes without a warranty, presenting a significant risk․ Prioritizing preventative maintenance and understanding the transmission’s vulnerabilities are key to maximizing its lifespan․
Performance and Mechanical Aspects
The 2017 Escape SE’s performance is tied to engine compatibility and the 6F35 transmission, which is prone to issues and premature failures․
Engine Specifications Compatible with Manual Transmission
Unfortunately, the 2017 Ford Escape SE was not offered with a manual transmission option from the factory․ All 2017 Escape SE models came standard with a 2․5L Duratec inline-4 engine paired exclusively with a 6-speed automatic transmission․ There were also options for a 2․0L EcoBoost engine, also solely available with the automatic․
Therefore, discussing engine specifications compatible with a manual transmission in this model is inherently problematic, as such a configuration doesn’t exist in original production form․ Any manual transmission swap would be a significant aftermarket modification, requiring extensive research and potentially impacting vehicle reliability and legality․ Discussions regarding engine compatibility would then center around what engines could be adapted to work with a manual transmission if one were installed․
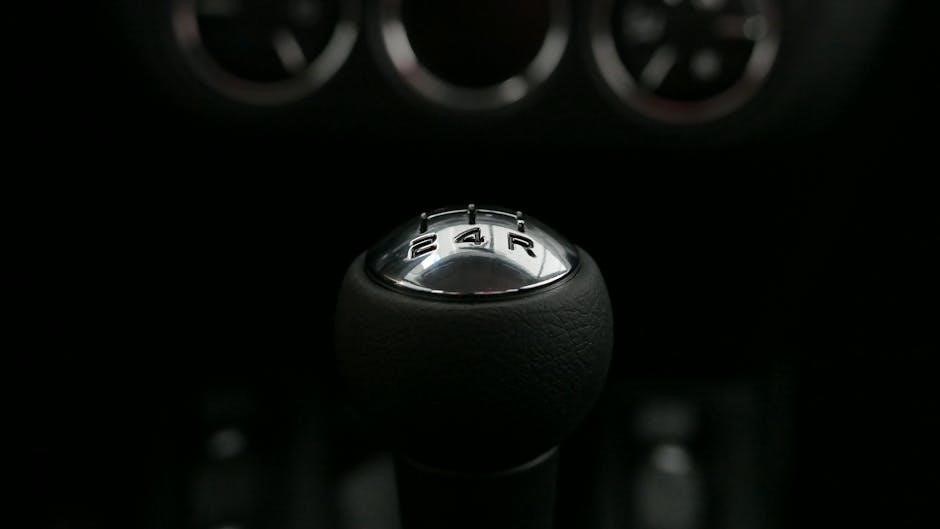
Manual Transmission Type: 6-Speed
This section addresses a hypothetical scenario, as the 2017 Ford Escape SE did not come equipped with a manual transmission from the factory․ However, if one were to consider a manual swap, the 6F35 transmission – the automatic transmission originally paired with the Escape – is often the subject of discussion regarding potential manual conversion kits․
These aftermarket kits typically involve adapting a 6-speed manual transmission, often sourced from other Ford vehicles, to fit the Escape’s engine and drivetrain․ The specific 6-speed manual used varies depending on the kit and installer preference․ It’s crucial to note that such modifications are complex and require professional installation, potentially voiding warranties and impacting vehicle safety․
Common Mechanical Issues
Focusing on the automatic 6F35 transmission commonly found in the 2017 Ford Escape SE, several mechanical issues are frequently reported․ Premature failure around 70,000 miles is a recurring concern, often necessitating costly repairs or replacements․ Owners describe complete transmission failure while driving, such as losing drive at a red light․
Specific problems with the 6F35 include internal component wear, valve body malfunctions, and torque converter issues․ These can manifest as harsh shifting, slipping gears, or a complete loss of drive․ Regular transmission fluid changes, ideally every 2 years or 30,000 miles, are crucial for mitigating these risks, as fluid impacts friction elements․

Transmission Maintenance & Fluid
Prioritize fluid changes every 2 years/30,000 miles; transmission fluid isn’t just lubrication, it critically affects friction elements within the 6F35 transmission․
Recommended Transmission Fluid Type

Determining the correct transmission fluid for your 2017 Ford Escape SE with a manual transmission is crucial for optimal performance and longevity․ While specific fluid recommendations can vary, it’s generally advised to use a fully synthetic automatic transmission fluid meeting Ford’s Mercon V specification․ However, given the issues surrounding the 6F35 transmission, many Ford community mechanics suggest upgrading to a fluid designed for transmissions prone to shudder or slipping․
Specifically, fluids marketed for transmissions experiencing torque converter clutch issues can offer improved protection․ Always consult your owner’s manual for the most accurate information, but be aware that older recommendations may not address the known vulnerabilities of this particular transmission․ Using the incorrect fluid can exacerbate existing problems and lead to premature failure, increasing repair costs significantly․
Transmission Fluid Change Intervals (Based on Usage)
Establishing appropriate transmission fluid change intervals is paramount for the 2017 Ford Escape SE’s manual transmission, especially considering the documented reliability concerns․ Traditionally, Ford recommended changes every 60,000 miles․ However, based on observed issues and expert advice from the Ford community, a more conservative approach is strongly recommended․
For normal driving conditions, changing the fluid every 30,000 miles or two years, whichever comes first, is advisable․ If the vehicle is subjected to severe usage – frequent towing, stop-and-go traffic, or extreme temperatures – reducing the interval to 20,000 miles is prudent․ Regular fluid changes help mitigate friction element wear and prevent potential shudder or failure, safeguarding the transmission’s lifespan․
Identifying Transmission Fluid Leaks
Promptly identifying transmission fluid leaks is crucial for preventing significant damage to the 2017 Ford Escape SE’s manual transmission․ Look for reddish-brown fluid pooling under the vehicle, typically towards the front-middle area․ Inspect the transmission housing, seals, and around the shift linkage for visible wetness․
Check the fluid level regularly using the dipstick (if equipped); a consistently low level indicates a leak․ Pay attention to any unusual smells – a burnt odor suggests overheating due to low fluid․ Even small leaks can escalate quickly, leading to premature wear and potential transmission failure․ Addressing leaks immediately can save substantial repair costs down the line․
Common Problems & Reliability
The 2017 Escape SE manual exhibits reported transmission failures around 70,000 miles, specifically with the 6F35 unit, impacting overall vehicle dependability․
6F35 Transmission Issues (Specific to this Model)
The 6F35 automatic transmission, frequently paired with the 2017 Ford Escape SE, demonstrates a concerning pattern of premature failures․ Owners report issues manifesting around the 70,000-mile mark, often experiencing complete transmission failure while driving, such as at a red light․ This suggests an underlying reliability problem specific to this transmission within this vehicle model․
The core of the issue appears to stem from internal component wear and tear, potentially exacerbated by fluid dynamics and friction element degradation․ Industry-wide, transmission fluids impact friction elements, and neglecting timely fluid changes (every 2-3 years or 30,000 miles) can accelerate this process; Given the reported frequency of failures, proactive maintenance is crucial for owners of this vehicle․
Premature Transmission Failure Reports
Numerous reports detail unexpectedly early transmission failures in the 2017 Ford Escape SE, causing significant financial burdens for vehicle owners․ A common scenario involves complete transmission failure occurring around 70,000 miles, with some instances reported even sooner․ This frequency of breakdowns raises serious concerns about the long-term durability of the 6F35 transmission in this specific application․
Online forums, like the Ford Escape Forum, are filled with accounts of owners facing costly repair or replacement options․ The sudden nature of these failures – often while driving – highlights a potential safety risk․ Owners emphasize the importance of being prepared for potential transmission issues and proactively seeking diagnostic checks if experiencing any unusual shifting behavior․
Cost of Transmission Repair/Replacement
Repairing or replacing the transmission in a 2017 Ford Escape SE can incur substantial expenses, demanding careful consideration of available options․ A brand-new transmission replacement, complete with a reassuring 3-year warranty, currently averages around $8,000 as of March 9th, 2026․ Sourcing a used transmission presents a potential cost saving of approximately $1,000, but comes with the significant drawback of no warranty coverage and potential delays in sourcing a suitable unit․
A transmission rebuild offers a middle ground, typically costing around $6,000 and including a 6-month warranty․ However, this option may require several weeks due to parts procurement and labor; One owner reported a rebuild cost of $5,400 for a 6F35 transmission, illustrating potential price variations․

Repair Options & Costs (as of 03/09/2026)
Facing transmission failure, owners have three paths: new ($8,000 w/ warranty), used ($7,000, no warranty), or rebuild ($6,000, 6-month warranty)․
New Transmission Replacement (Approx․ $8,000 with 3-year warranty)
Opting for a brand new transmission replacement for your 2017 Ford Escape SE manual represents the most substantial financial outlay, currently estimated around $8,000 as of March 9th, 2026․ However, this investment provides the most peace of mind, as it typically includes a comprehensive 3-year warranty, shielding you from potential future failures during that period․
This option ensures all components are fresh and functioning optimally, eliminating the uncertainties associated with used or rebuilt units․ While the cost is significant, it offers a long-term solution, potentially avoiding repeated repair bills․ Labor costs are included in this estimate, but may vary slightly depending on the chosen repair facility․ Consider this a premium solution for lasting reliability․
Used Transmission Sourcing (Potential $1,000 savings, no warranty)
Sourcing a used transmission for your 2017 Ford Escape SE manual presents a more budget-conscious alternative, potentially saving around $1,000 compared to a new unit․ However, this cost reduction comes with a significant caveat: a complete lack of warranty coverage․ You are essentially assuming all risk associated with the transmission’s prior life and unknown condition․
The sourcing process itself can be time-consuming, potentially taking a week or longer to locate a compatible unit․ Thorough inspection is crucial, but even then, hidden issues may emerge post-installation․ Labor costs for installation are separate and add to the overall expense․ This option is best suited for those comfortable with risk and seeking the lowest upfront cost․
Transmission Rebuild (Approx․ $6,000 with 6-month warranty)
Opting for a transmission rebuild for your 2017 Ford Escape SE manual strikes a balance between cost and security, typically around $6,000, and includes a 6-month warranty․ This approach involves disassembling, inspecting, and replacing worn or damaged components within your existing transmission case․ While more affordable than a new unit, it’s not a quick fix․
Sourcing the necessary parts can extend the process to several weeks․ The quality of the rebuild heavily depends on the mechanic’s expertise and the parts used․ The 6-month warranty offers some peace of mind, covering potential failures within that timeframe, but doesn’t match the 3-year coverage of a new transmission․

Finding a Qualified Mechanic
Seek Ford community mechanics due to frequent Escape transmission issues; Cleveland Auto Repair offers specialized Ford service for confident diagnosis and repair․
Importance of Ford Community Mechanics
Ford Escape owners frequently encounter transmission problems, making specialized expertise invaluable․ Mechanics deeply embedded within the Ford community possess firsthand experience with the 6F35 transmission’s vulnerabilities, specifically within the 2017 Escape SE model․ They’ve likely encountered similar issues repeatedly, fostering a nuanced understanding beyond general automotive repair shops․
This focused experience translates to more accurate diagnoses, avoiding costly and unnecessary repairs․ Community mechanics often share knowledge and diagnostic procedures, staying ahead of emerging problems․ They understand the specific quirks of Ford’s engineering and can efficiently pinpoint the root cause of transmission failures․ Utilizing these mechanics can save significant time and money, ensuring a more reliable and lasting solution for your Escape’s transmission woes․
Cleveland Auto Repair & Similar Services
For 2017 Ford Escape SE owners facing transmission issues, specialized services like Cleveland Auto Repair (855-CLE-AUTO) offer tailored solutions․ Given the documented susceptibility of the 6F35 transmission in this model, seeking a shop familiar with Ford vehicles is crucial․ These establishments often possess the necessary diagnostic tools and expertise to accurately assess the problem․
Beyond Cleveland, researching local shops with strong Ford-specific reputations is advisable․ Look for mechanics who demonstrate a clear understanding of the Escape’s transmission vulnerabilities․ Prioritize services offering comprehensive inspections and transparent repair quotes․ Don’t hesitate to ask about their experience with 6F35 rebuilds or replacements, and inquire about warranty options to protect your investment․
Diagnostic Procedures for Transmission Problems
Accurate diagnosis is paramount when addressing 2017 Ford Escape SE transmission concerns, especially given the 6F35’s known issues․ Initial checks involve inspecting transmission fluid levels and condition for leaks or discoloration․ A scan tool can retrieve diagnostic trouble codes (DTCs) offering clues about internal malfunctions․
Experienced technicians will perform a road test, observing shift quality and identifying any slipping, harsh engagement, or unusual noises․ Further investigation may include checking for mechanical damage, solenoid functionality, and valve body operation; Ford community mechanics often possess specialized knowledge of common Escape transmission failures, enabling quicker and more precise diagnoses․ Thorough testing prevents unnecessary repairs and ensures effective solutions․

Resale Value & Trade-In Considerations
Transmission issues significantly diminish the 2017 Escape SE’s resale value; trading in before complete failure may yield a better return than costly repairs․
Impact of Transmission Issues on Resale Value
The 2017 Ford Escape SE’s resale value is demonstrably and negatively impacted by reported transmission problems, particularly concerning the 6F35 unit․ Potential buyers are acutely aware of the premature failure rates, leading to substantial price reductions or outright rejection of vehicles with known or suspected transmission issues․ A vehicle with a rebuilt or used transmission, lacking a comprehensive warranty, will fetch significantly less than one with an original, functioning unit․
Even the perception of potential transmission trouble can devalue the vehicle․ Transparency is crucial; concealing known issues can lead to legal repercussions․ Owners facing transmission problems should realistically assess the cost of repair versus the potential increase in resale value after addressing the issue․ Often, the repair cost exceeds the added value, making trade-in a more financially sound option․
Trade-In Options vs․ Repair Costs
Evaluating trade-in value against the substantial cost of 2017 Ford Escape SE manual transmission repairs is critical․ Given new transmission replacements averaging $8,000 (with warranty), rebuilds around $6,000 (6-month warranty), and even used options costing $7,000 (no warranty), trade-in often proves more economical․ Reports suggest some owners receive only a few thousand dollars for vehicles with failing transmissions․
While a repair might seem appealing to retain the vehicle, the potential for recurring issues with the 6F35 transmission looms large․ A trade-in avoids future repair bills and the associated stress․ Obtain quotes from dealerships and independent appraisers to accurately assess trade-in value․ Carefully weigh the long-term financial implications before committing to a costly transmission repair․